
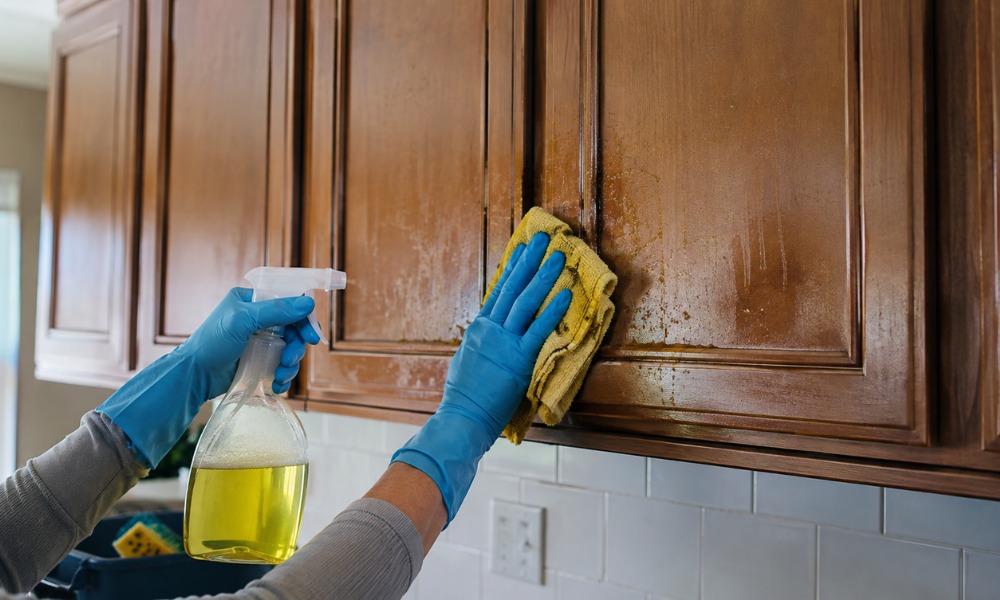
What’s in This Guide
- Why Proper Cleaning Matters Before Cabinet Painting
- What Causes Grease to Build Up on Kitchen Cabinets?
- Which Cleaning Products Work Best?
- How to Degrease Kitchen Cabinets for Painting
- How Can You Tell the Cabinets Are Ready for Primer?
- Which Mistakes Cause Cabinet Paint to Fail?
- When Should Homeowners Consider Professional Cabinet Painting?
- Frequently Asked Questions
- Prepare Cabinets the Right Way Before Painting
Quick Facts
- Properly degreasing kitchen cabinets for painting removes grease and residue that can prevent primer and paint from adhering.
- Clean cabinets using suitable degreasers, rinse when required, and allow surfaces to dry completely before sanding or priming.
- Avoid common mistakes like painting over grease, oversaturating wood, or skipping drying time to help achieve a smoother, longer-lasting finish.
Kitchen cabinets accumulate a hard-to-see but easy-to-feel film of cooking oils, grease, food residue, and airborne particles. Leaving this buildup in place prevents primer and paint from bonding properly, risking peeling, fisheyes, uneven coverage, or premature paint failure.
Degreasing is a critical step in preparing for a cabinet makeover. Sanding and priming cannot compensate for a dirty surface, whereas thorough cleaning establishes the stable foundation required for coatings to perform as intended.
This guide explains why grease removal matters, which cleaning products are commonly used, and how to prepare cabinets without damaging the existing finish.
Why Proper Cleaning Matters Before Cabinet Painting
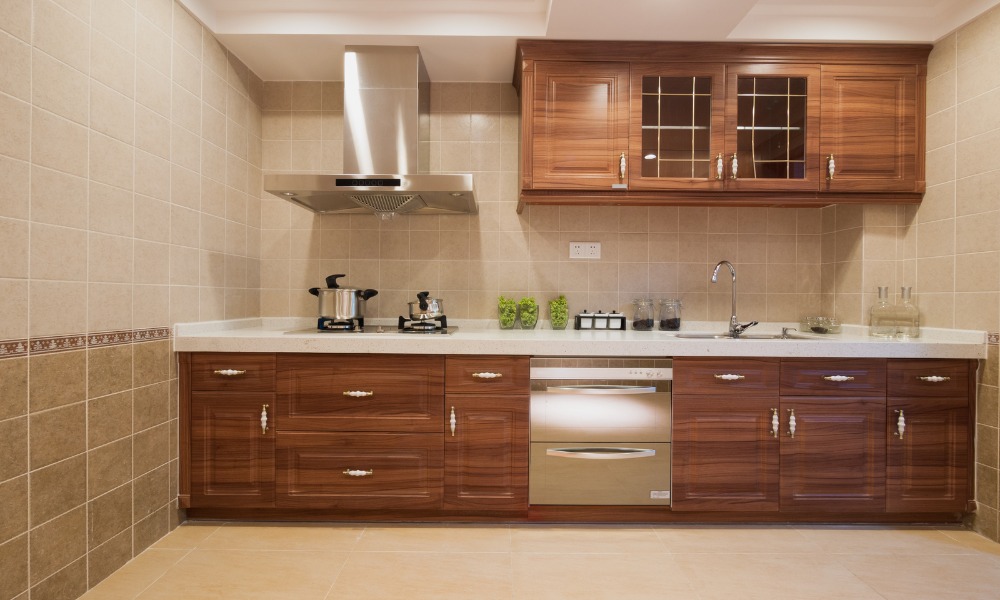
Cleaning is more than a cosmetic task. It directly affects how well new coatings adhere and how the finished cabinets perform over time.
Better Primer Adhesion
Primer bonds more effectively to a clean surface than one covered with grease or residue. Removing contaminants first helps create a more consistent foundation for every layer that follows.
Smoother Paint Finish
Grease trapped beneath paint can create bumps, fisheyes, and uneven sheen. Thorough preparation helps produce a cleaner, more uniform appearance after painting is complete.
Longer-Lasting Results
Quality preparation often extends the life of a cabinet painting project. Clean surfaces are less likely to experience early peeling, bubbling, or adhesion problems caused by contaminants left behind.
Fewer Corrective Repairs
Removing grease before painting reduces the likelihood of needing touch-ups or repainting sections shortly after the project is finished. Investing time in preparation usually saves time later.
What Causes Grease to Build Up on Kitchen Cabinets?
Even cabinets that appear clean can accumulate oils and residue over time. Understanding where the buildup comes from helps determine how much cleaning may be necessary.
Cooking Oils
Steam released during cooking carries tiny grease particles that gradually settle on nearby cabinet doors, face frames, and trim. Over time, multiple cooking sessions create a sticky film that attracts additional dust.
Food Residue
Small splatters from frying, baking, or mixing food can land on cabinet surfaces without being immediately noticed. These residues often become more difficult to remove the longer they remain.
Hand Oils Around Handles
Cabinet pulls and knobs receive constant contact throughout the day. Natural oils from hands gradually collect around these high-touch areas and may spread beyond the hardware over time.
Airborne Dust and Smoke
Dust, smoke, and cooking vapors combine with grease to create a layer of residue that may not be removed through routine household cleaning alone.
Which Cleaning Products Work Best?
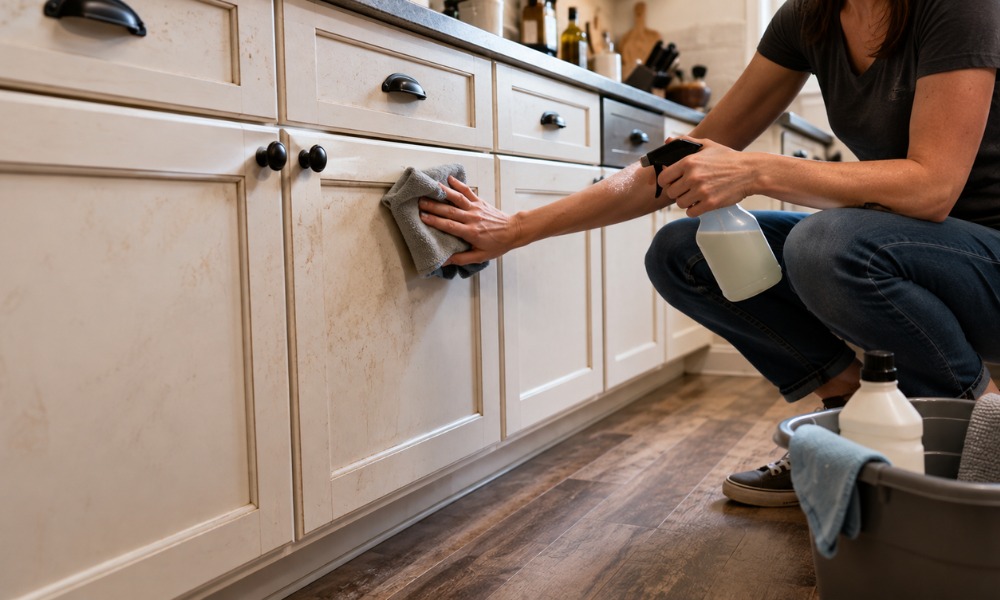
Different levels of grease require different cleaning approaches. The goal is to remove contaminants without unnecessarily damaging the existing finish.
Mild Dish Soap Solutions
Warm water combined with a grease-cutting dish soap is often sufficient for cabinets with light cooking residue. Using a soft microfiber cloth instead of abrasive scrubbers helps protect painted or stained finishes.
Commercial Degreasers
Heavier grease buildup may require specialized degreasing products designed for painted or finished wood surfaces. Always follow the manufacturer's instructions and avoid allowing cleaners to remain on the surface longer than recommended.
Citrus-Based Cleaners
Many citrus-based products help dissolve grease while remaining suitable for many finished cabinet surfaces. As with any cleaner, testing an inconspicuous area first is a good practice.
EPA Safer Choice Products
Some homeowners prefer cleaners recognized through the EPA's Safer Choice program, which identifies products formulated to meet specific human health and environmental criteria. Product labels should still be reviewed to confirm compatibility with the cabinet finish.
Products to Avoid
Highly abrasive cleaners, steel wool, or harsh chemicals may damage paint, stain, or protective topcoats. Mixing different cleaning products should also be avoided unless specifically directed by the manufacturer.
How to Degrease Kitchen Cabinets for Painting
Proper preparation is easier when completed in a logical sequence. Working methodically reduces missed areas and helps prevent unnecessary damage to cabinet surfaces.
Remove Doors, Drawers, and Hardware
Take off cabinet doors, drawer fronts, hinges, and hardware before cleaning whenever practical. Labeling each component simplifies reassembly and provides better access to corners, edges, and detailed profiles that often collect grease.
Dust the Surface Before Wet Cleaning
Use a vacuum with a soft brush attachment or a dry microfiber cloth to remove loose dust, crumbs, and cobwebs. Dry cleaning first prevents debris from turning into a muddy residue once a cleaning solution is applied.
Work in Small Sections
Instead of cleaning every cabinet at once, work on one door or small section at a time. This gives the cleaner enough time to break down grease without drying on the surface before it can be wiped away.
Wipe Instead of Soaking
Apply the cleaning solution to a cloth rather than directly onto the cabinet whenever possible. Excess moisture can seep into joints, seams, or unfinished edges, especially on older wood cabinets, MDF, or veneer surfaces.
Use gentle pressure while wiping to lift grease rather than aggressively scrubbing the finish. If stubborn buildup remains, repeat the process instead of using excessive force.
Rinse Away Cleaner Residue
Some degreasers leave behind a residue that may interfere with primer adhesion if it is not removed. When the product instructions recommend rinsing, wipe the surface with a clean cloth lightly dampened with fresh water to remove any remaining cleaner.
Avoid saturating the cabinets during this step. The goal is simply to remove residue, not soak the material.
Allow Cabinets to Dry Completely
Before sanding or priming, allow every surface to dry thoroughly. Even small amounts of trapped moisture can affect primer adhesion or lead to inconsistent paint coverage.
Drying time varies depending on humidity, airflow, and the cleaning products used, so avoid rushing to the next step.
How Can You Tell the Cabinets Are Ready for Primer?
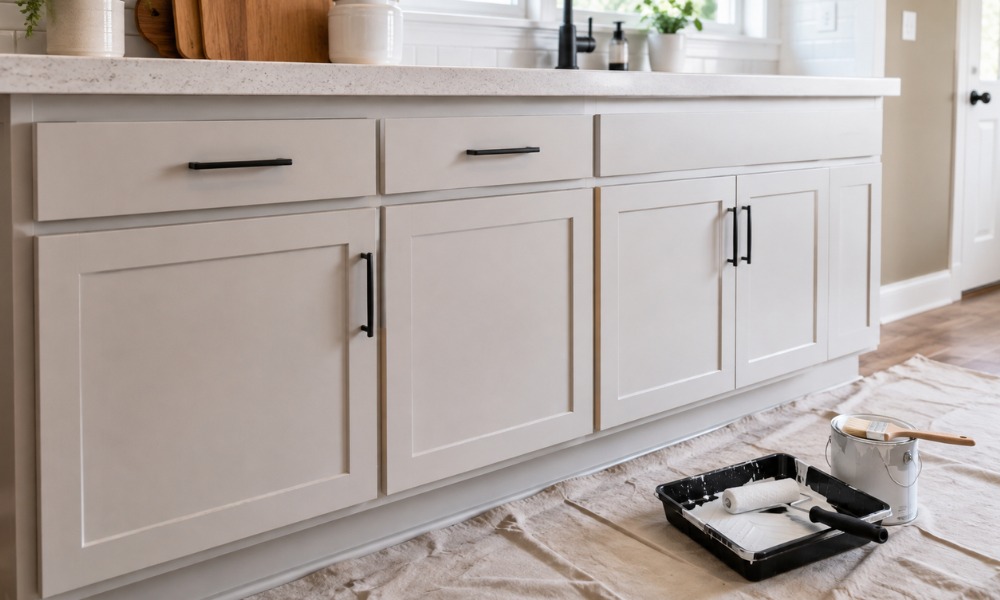
Cleaning alone does not automatically mean the cabinets are ready for paint. A few simple checks can help confirm the surface has been properly prepared.
The Surface No Longer Feels Sticky
Run your hand lightly across the cabinet doors. A properly cleaned surface should feel smooth rather than tacky or oily. Any lingering stickiness usually indicates that grease or cleaner residue remains.
The Finish Looks Consistent
After cleaning, cabinet surfaces should have a uniform appearance without glossy patches caused by remaining cooking oils. Areas around handles, knobs, and frequently touched corners deserve extra attention because they typically collect the most residue.
No Cleaner Residue Remains
Some cleaning products leave behind a thin film if they are not rinsed according to the manufacturer’s directions. A clean microfiber cloth should glide across the surface without picking up noticeable residue.
Sanding Produces Clean Dust
One of the easiest ways to confirm preparation is during light sanding. Instead of creating gummy residue, properly cleaned cabinets should produce dry sanding dust. This is often a good indication that the surface is ready for primer.
Which Mistakes Cause Cabinet Paint to Fail?
Even high-quality materials cannot overcome poor preparation. Many cabinet painting problems begin before the first coat of primer is applied.
Painting Over Hidden Grease
Grease that remains on the surface can prevent primer and paint from bonding properly. Areas near the stove, range hood, and cabinet hardware are especially prone to hidden buildup.
Skipping the Rinse Step
When a cleaner requires rinsing, leaving residue behind may interfere with adhesion. Following the product directions helps ensure the surface is ready for the next stage.
Using Abrasive Cleaning Tools
Steel wool, harsh scouring pads, or overly aggressive cleaners may scratch or damage existing finishes. Gentle cleaning methods are generally safer for painted, stained, or sealed cabinets.
Sanding Before Cleaning
Many homeowners eager to learn how to paint kitchen cabinets begin sanding immediately. However, sanding before removing grease can grind contaminants deeper into the finish, making proper surface preparation more difficult.
Rushing the Drying Process
Primer should never be applied to damp cabinet surfaces. Allowing sufficient drying time helps reduce the risk of adhesion issues and creates better conditions for a durable finish.
➤ YOU MIGHT ALSO LIKE: Kitchen Cabinet Paint Colors That Still Look Good After the Trend Cycle Ends
When Should Homeowners Consider Professional Cabinet Painting?
Many homeowners successfully paint cabinets themselves, but certain situations may benefit from professional assistance.
Extensive Grease Buildup
Cabinets exposed to years of cooking residue may require more intensive preparation than routine household cleaning can provide. Professionals can evaluate the condition of the existing finish and recommend the most appropriate preparation methods.
Existing Surface Damage
Peeling paint, chipped finishes, water damage, or swollen panels may require repairs before painting begins. Addressing these issues early helps create a better final result.
Large or Complex Kitchens
Homes with extensive cabinetry, detailed trim, or multiple finish types often require additional planning and preparation. Professional project management can help maintain consistent results throughout the space.
Factory-Like Finish Expectations
If the goal is an exceptionally smooth, furniture-quality appearance, professional cabinet painting techniques and equipment may produce more consistent results than traditional brush-and-roller methods.
Frequently Asked Questions
Can I leave cabinet doors attached while painting?
Yes, but removing them usually gives cleaner results. It provides better access to edges, corners, and recessed panels while reducing missed spots and drips.
How often should kitchen cabinets be cleaned before they need repainting?
Regular cleaning helps prevent heavy grease buildup. High-use kitchens may need wiping every few weeks, especially near cooking areas and handles.
Does the kitchen temperature affect cabinet painting?
Yes. Temperature and humidity affect drying time, adhesion, and finish consistency. Follow the product’s recommended application conditions.
Can old cabinet hardware affect the finished appearance?
Yes. Worn or outdated hardware can make freshly painted cabinets look unfinished. Cleaning or replacing hardware can create a more polished result.
How to paint kitchen cabinets?
Start by cleaning and degreasing kitchen cabinets for painting, then sand, prime, and apply thin, even coats of paint. Allow each coat to dry according to the manufacturer’s instructions before applying the next. Proper preparation is key to achieving a smooth, durable finish.
Prepare Cabinets the Right Way Before Painting
Learning how to degrease kitchen cabinets for painting is one of the most valuable steps in any cabinet refinishing project. Removing grease, using compatible cleaning products, allowing adequate drying time, and following a proper preparation sequence all contribute to a smoother, more durable finish.
If you’re planning a cabinet painting project in Brewster, NY, Brewster Best House Painting can evaluate your existing cabinets, recommend the right preparation methods, and deliver professional results designed to last.
Contact Brewster Best House Painting to discuss your project and request an estimate.